
DIY Gold Gallery Rails — How I Saved Over $500 with a Little Creativity
If you’ve ever admired the elegant look of small gold gallery rails on built-ins or bookshelves, you probably know how much they can elevate a space, but what shocked me was just how expensive they are. When I started pricing gallery rail hardware for this project, I quickly realized it would cost over $500 to outfit just a few shelves! Some decorative spindles alone were priced at $30 a piece—and that didn’t even include brackets or installation.
There was no way I could justify that cost, so I got creative and decided to make them myself.
Here’s how I pulled it off:
The Before
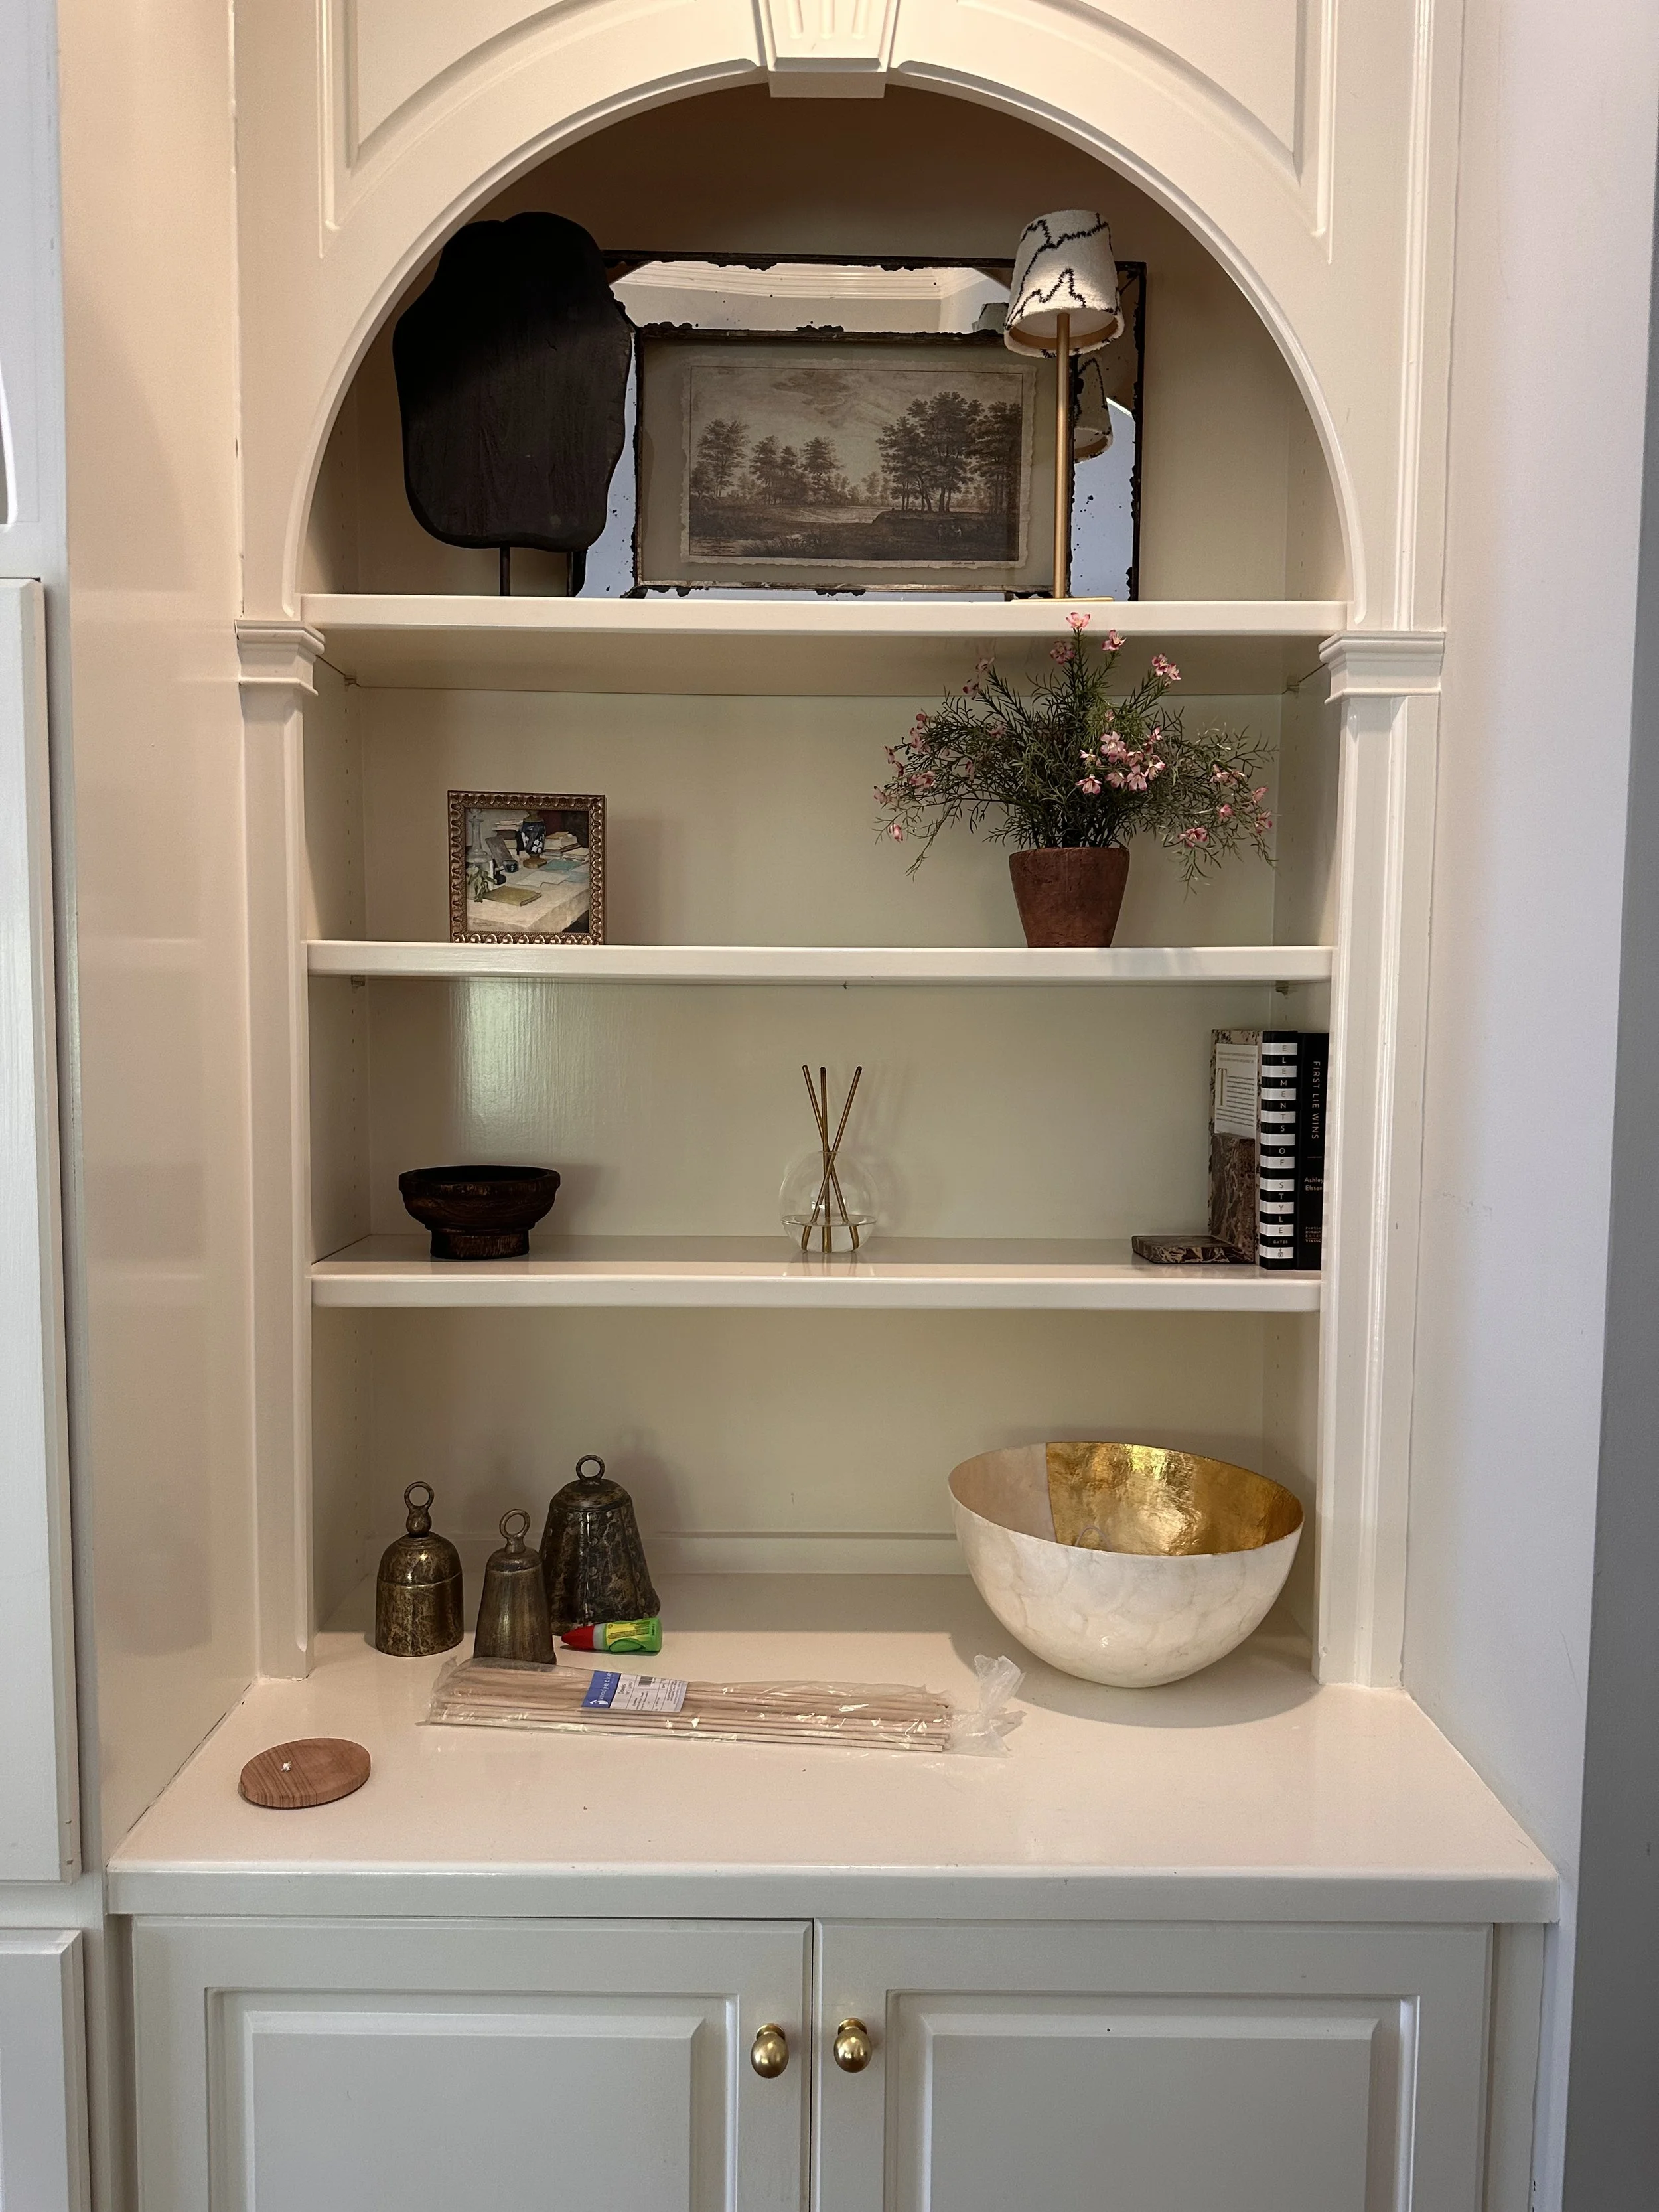
This built-in had great potential, but it felt a little plain and needed that extra layer of detail. I knew small gold gallery rails would instantly take it to the next level.
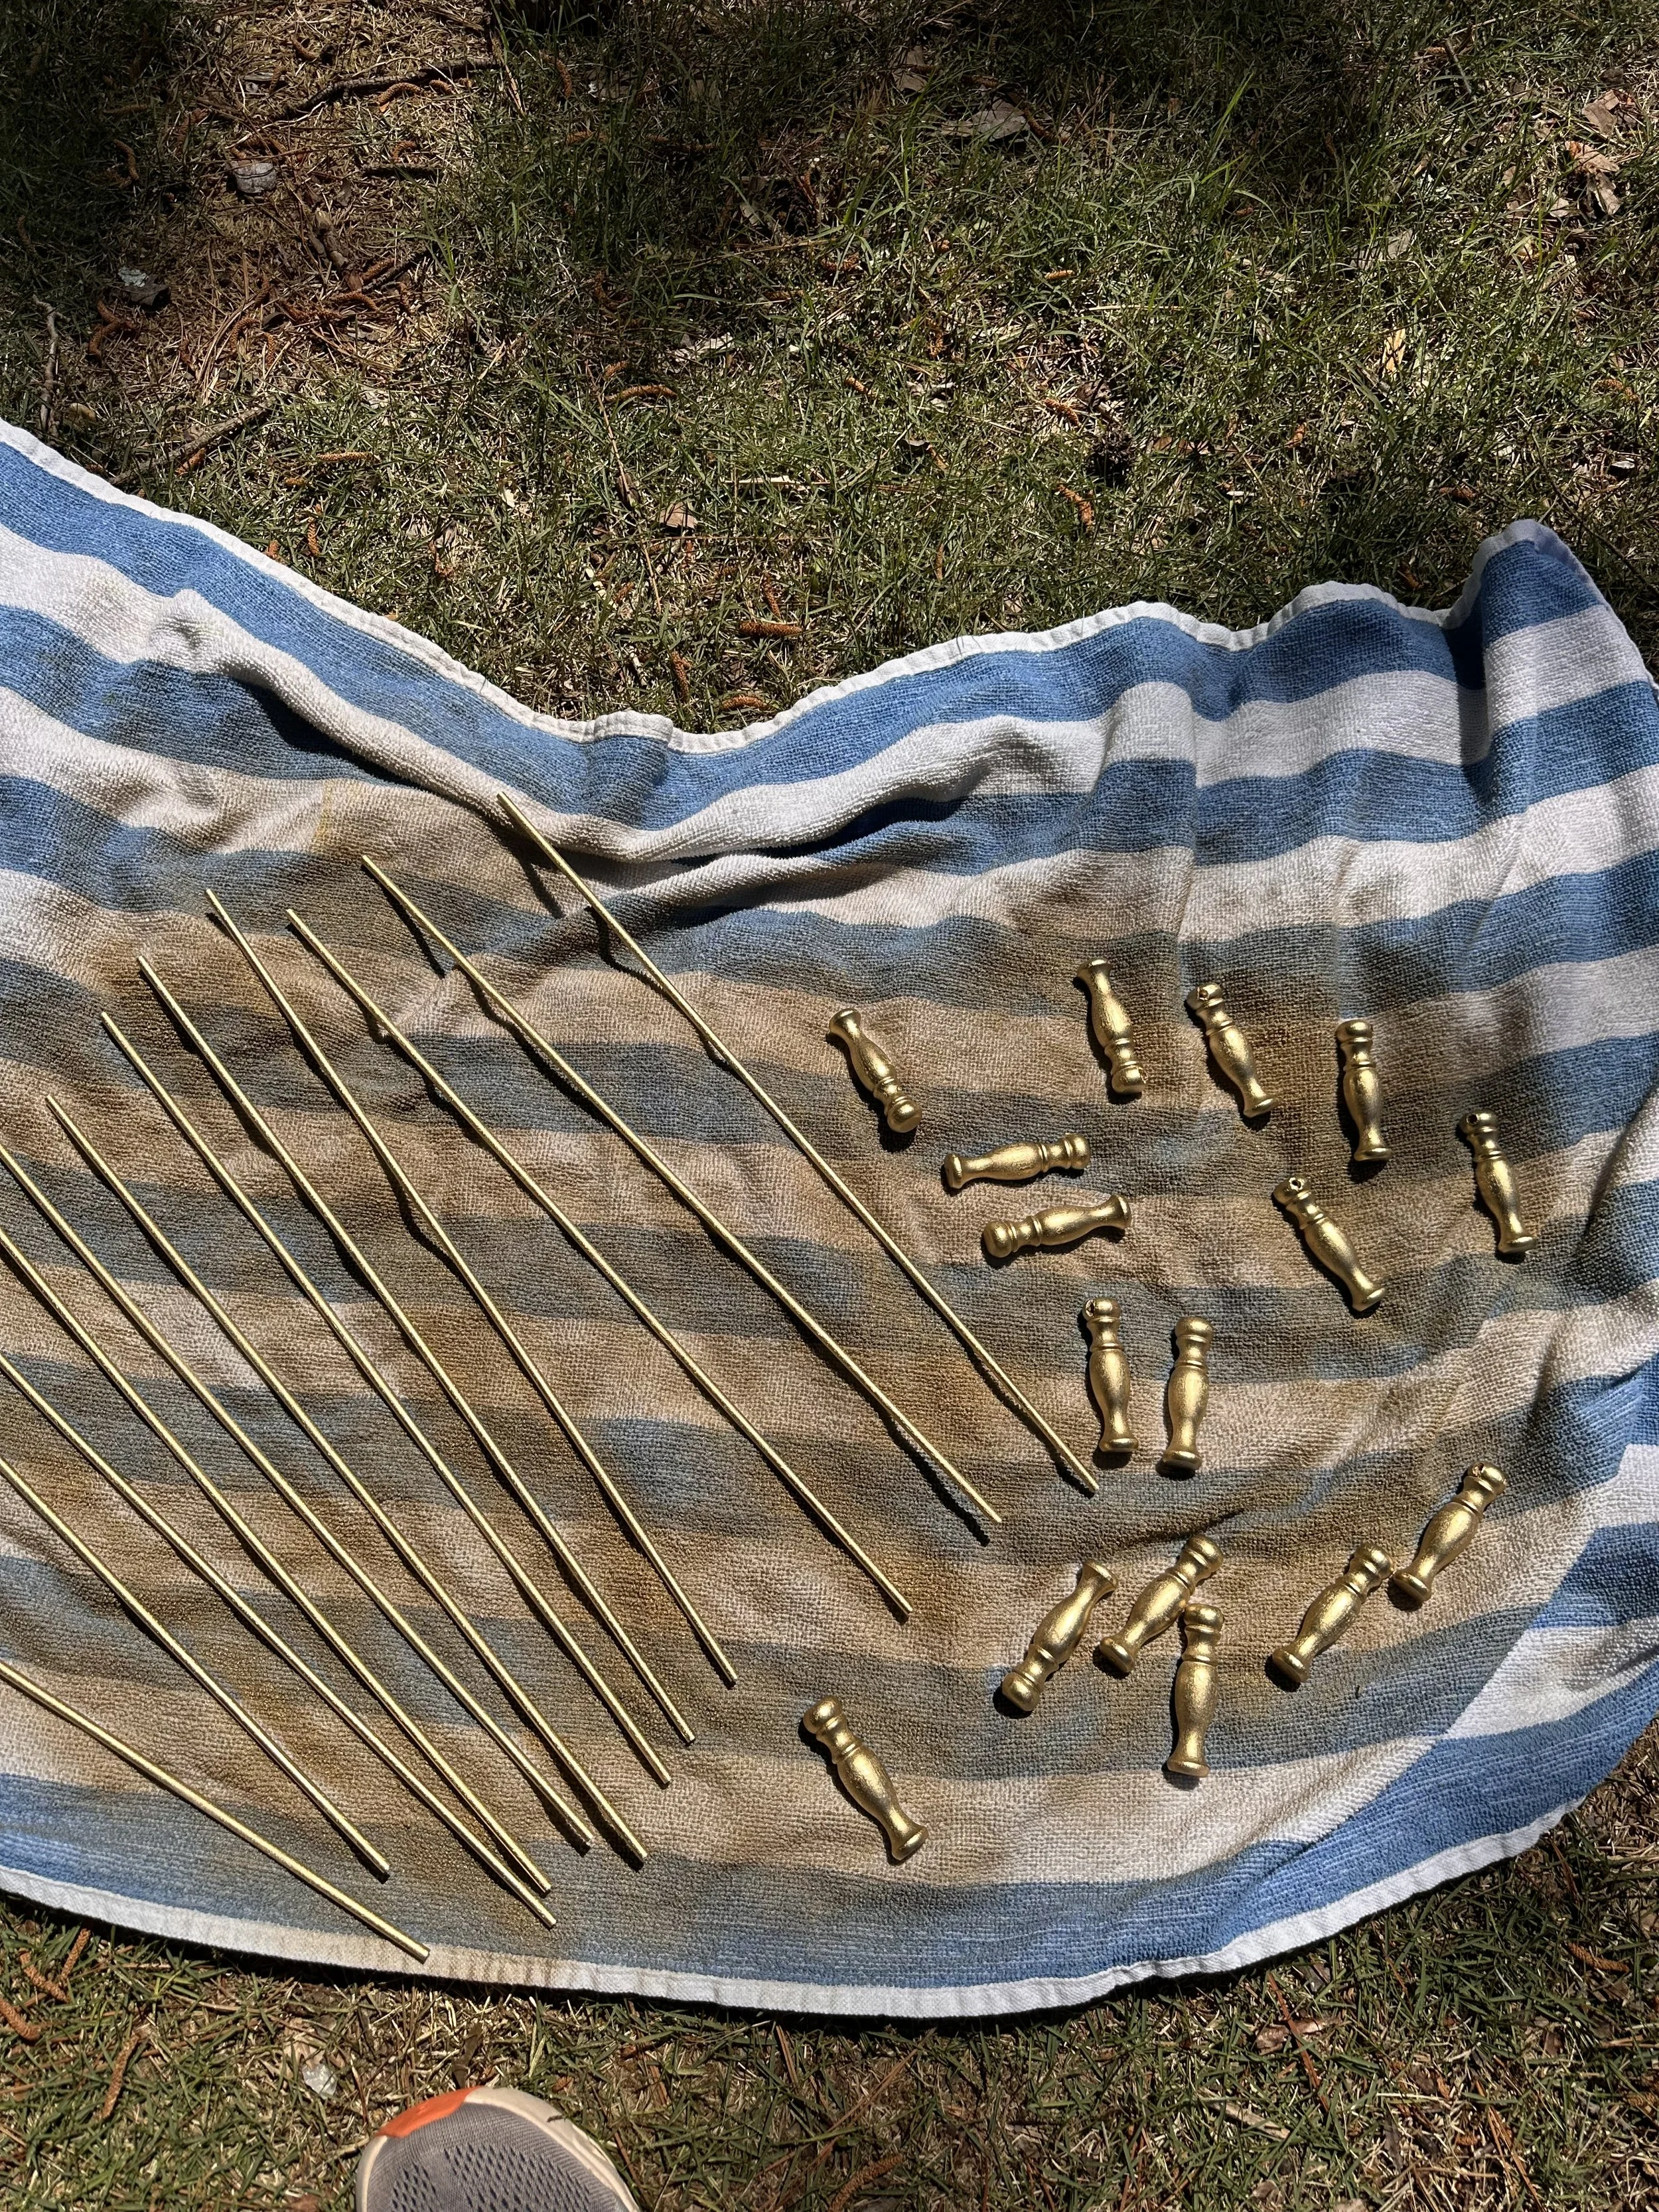
Painting
Next, I took everything outside and gave it a coat of gold spray paint. I used Rustoleum’s metallic gold spray, which gives a beautiful, convincing finish that looks like real metal without the cost.
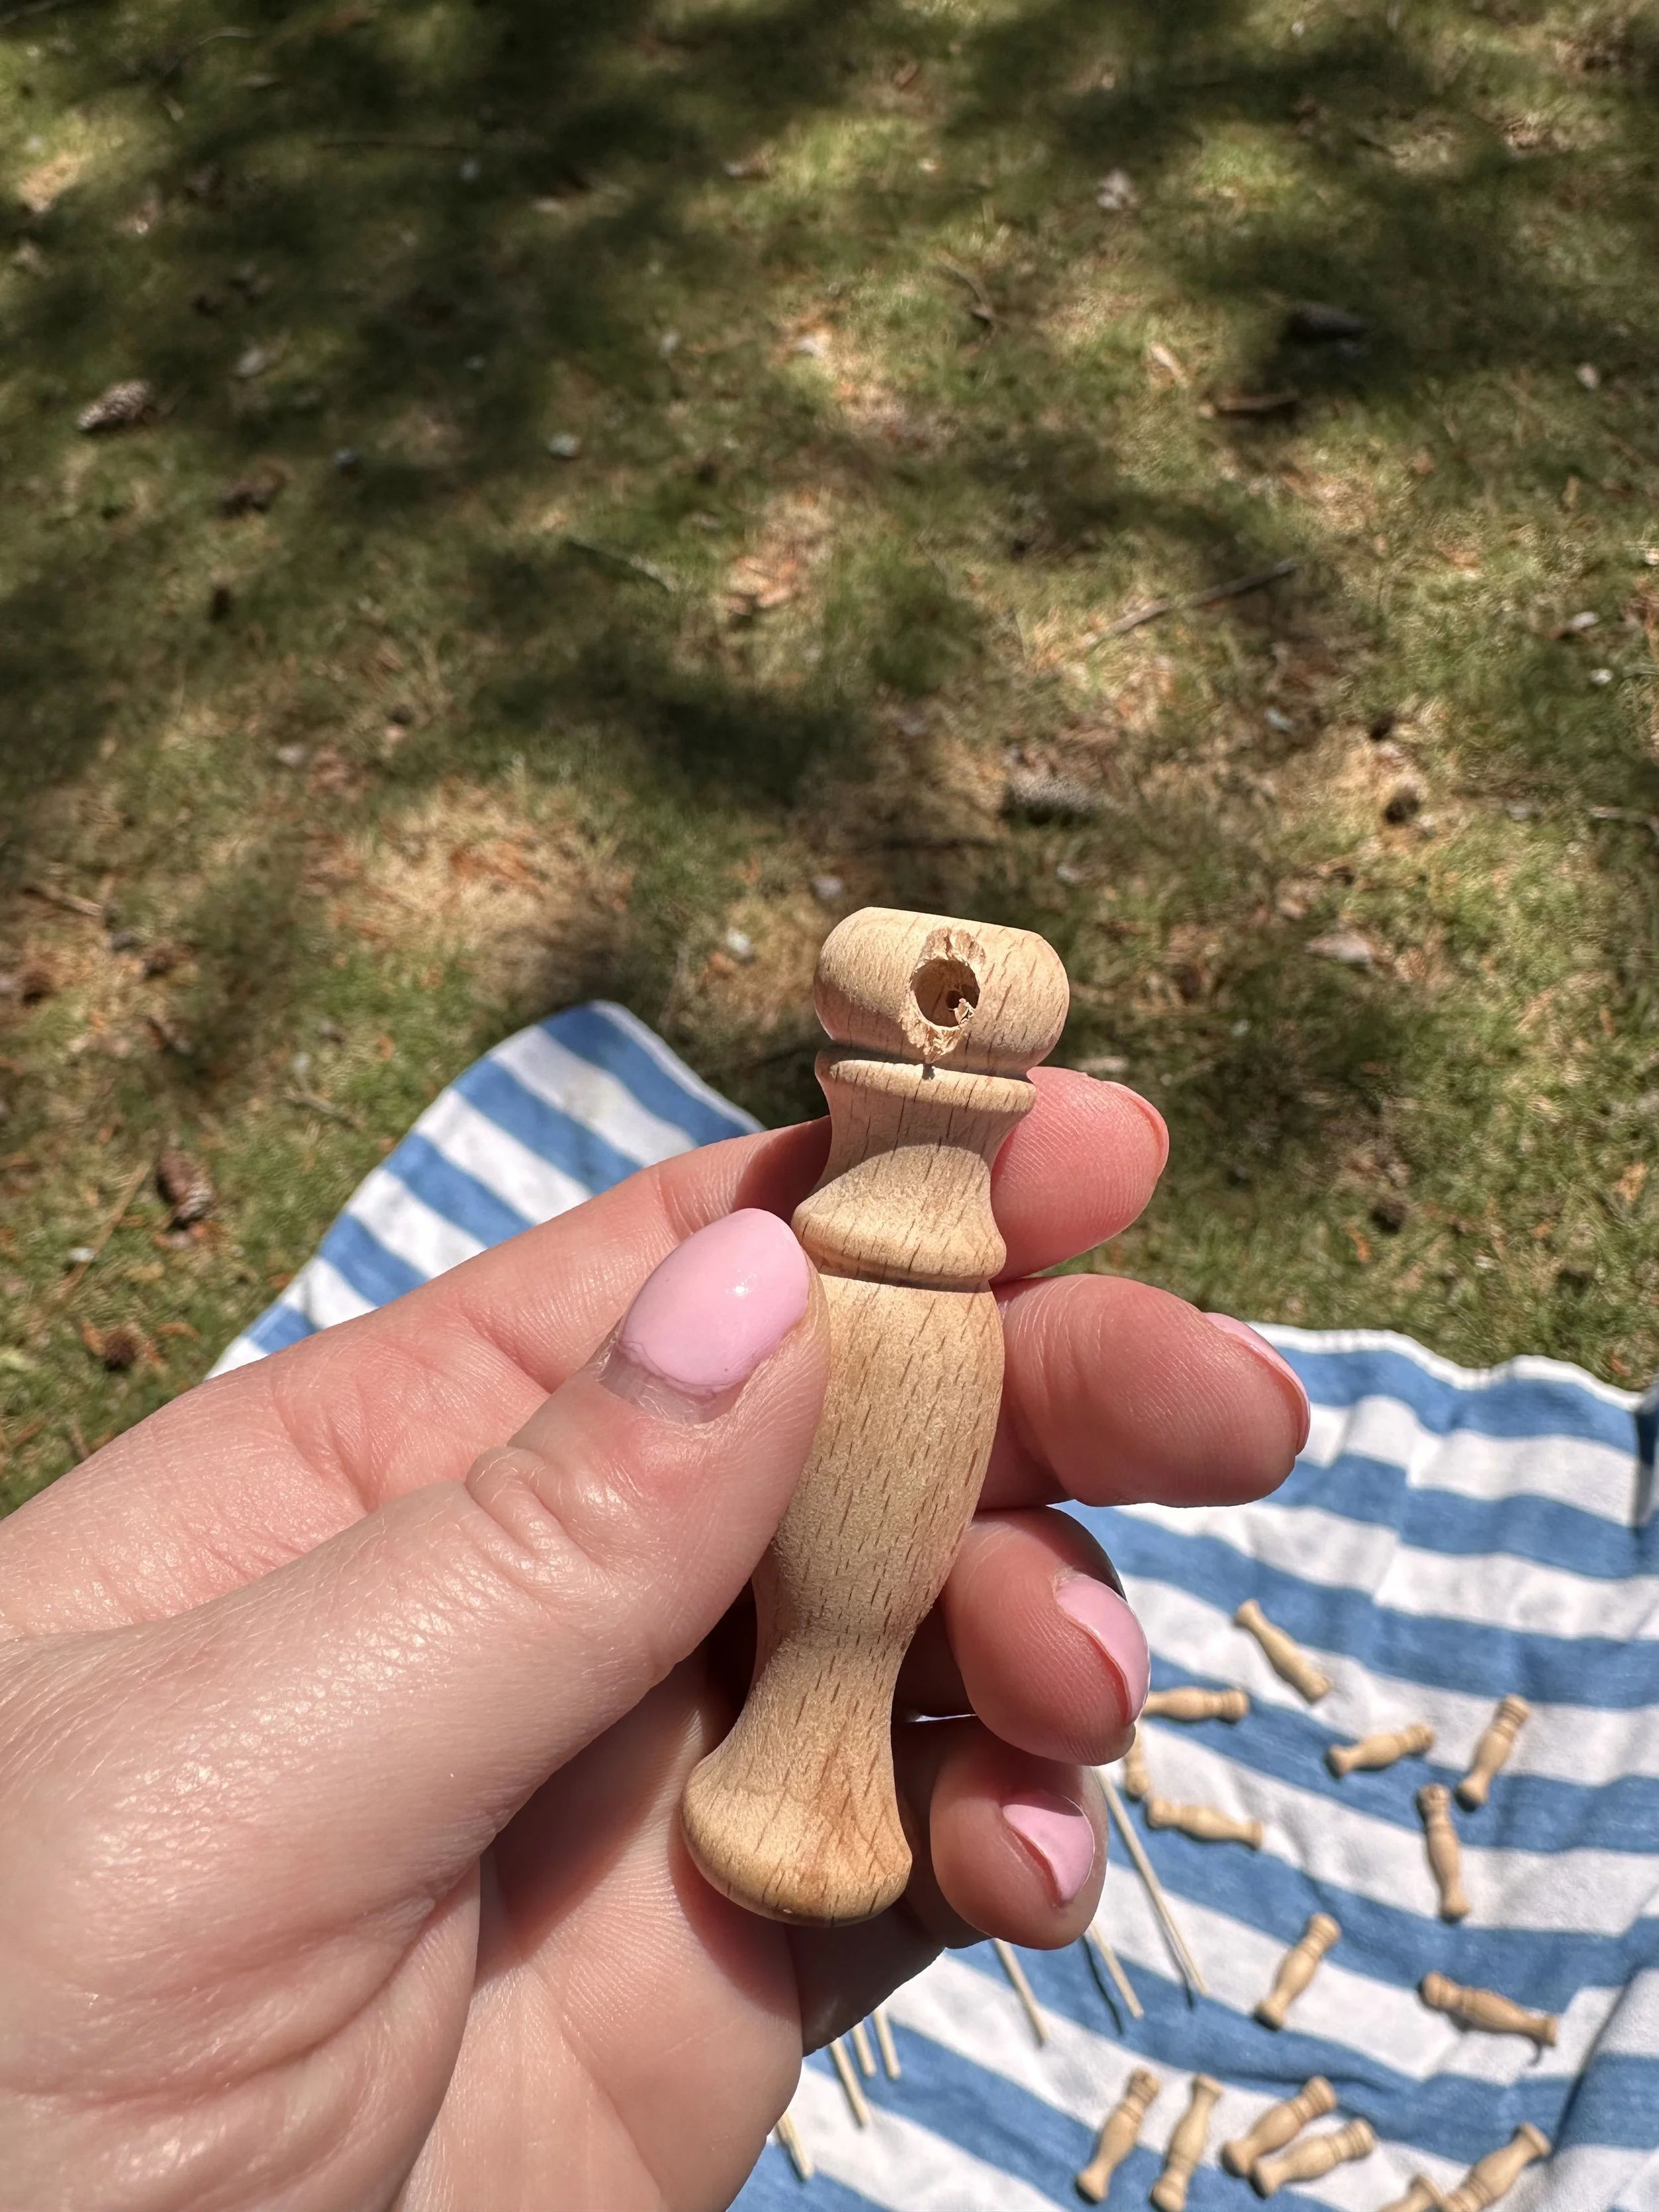
Assembly
Once the paint dried, it was time to assemble. I threaded the dowels through the spindles to create each mini railing and then secured them to the sides of the shelves with glue.
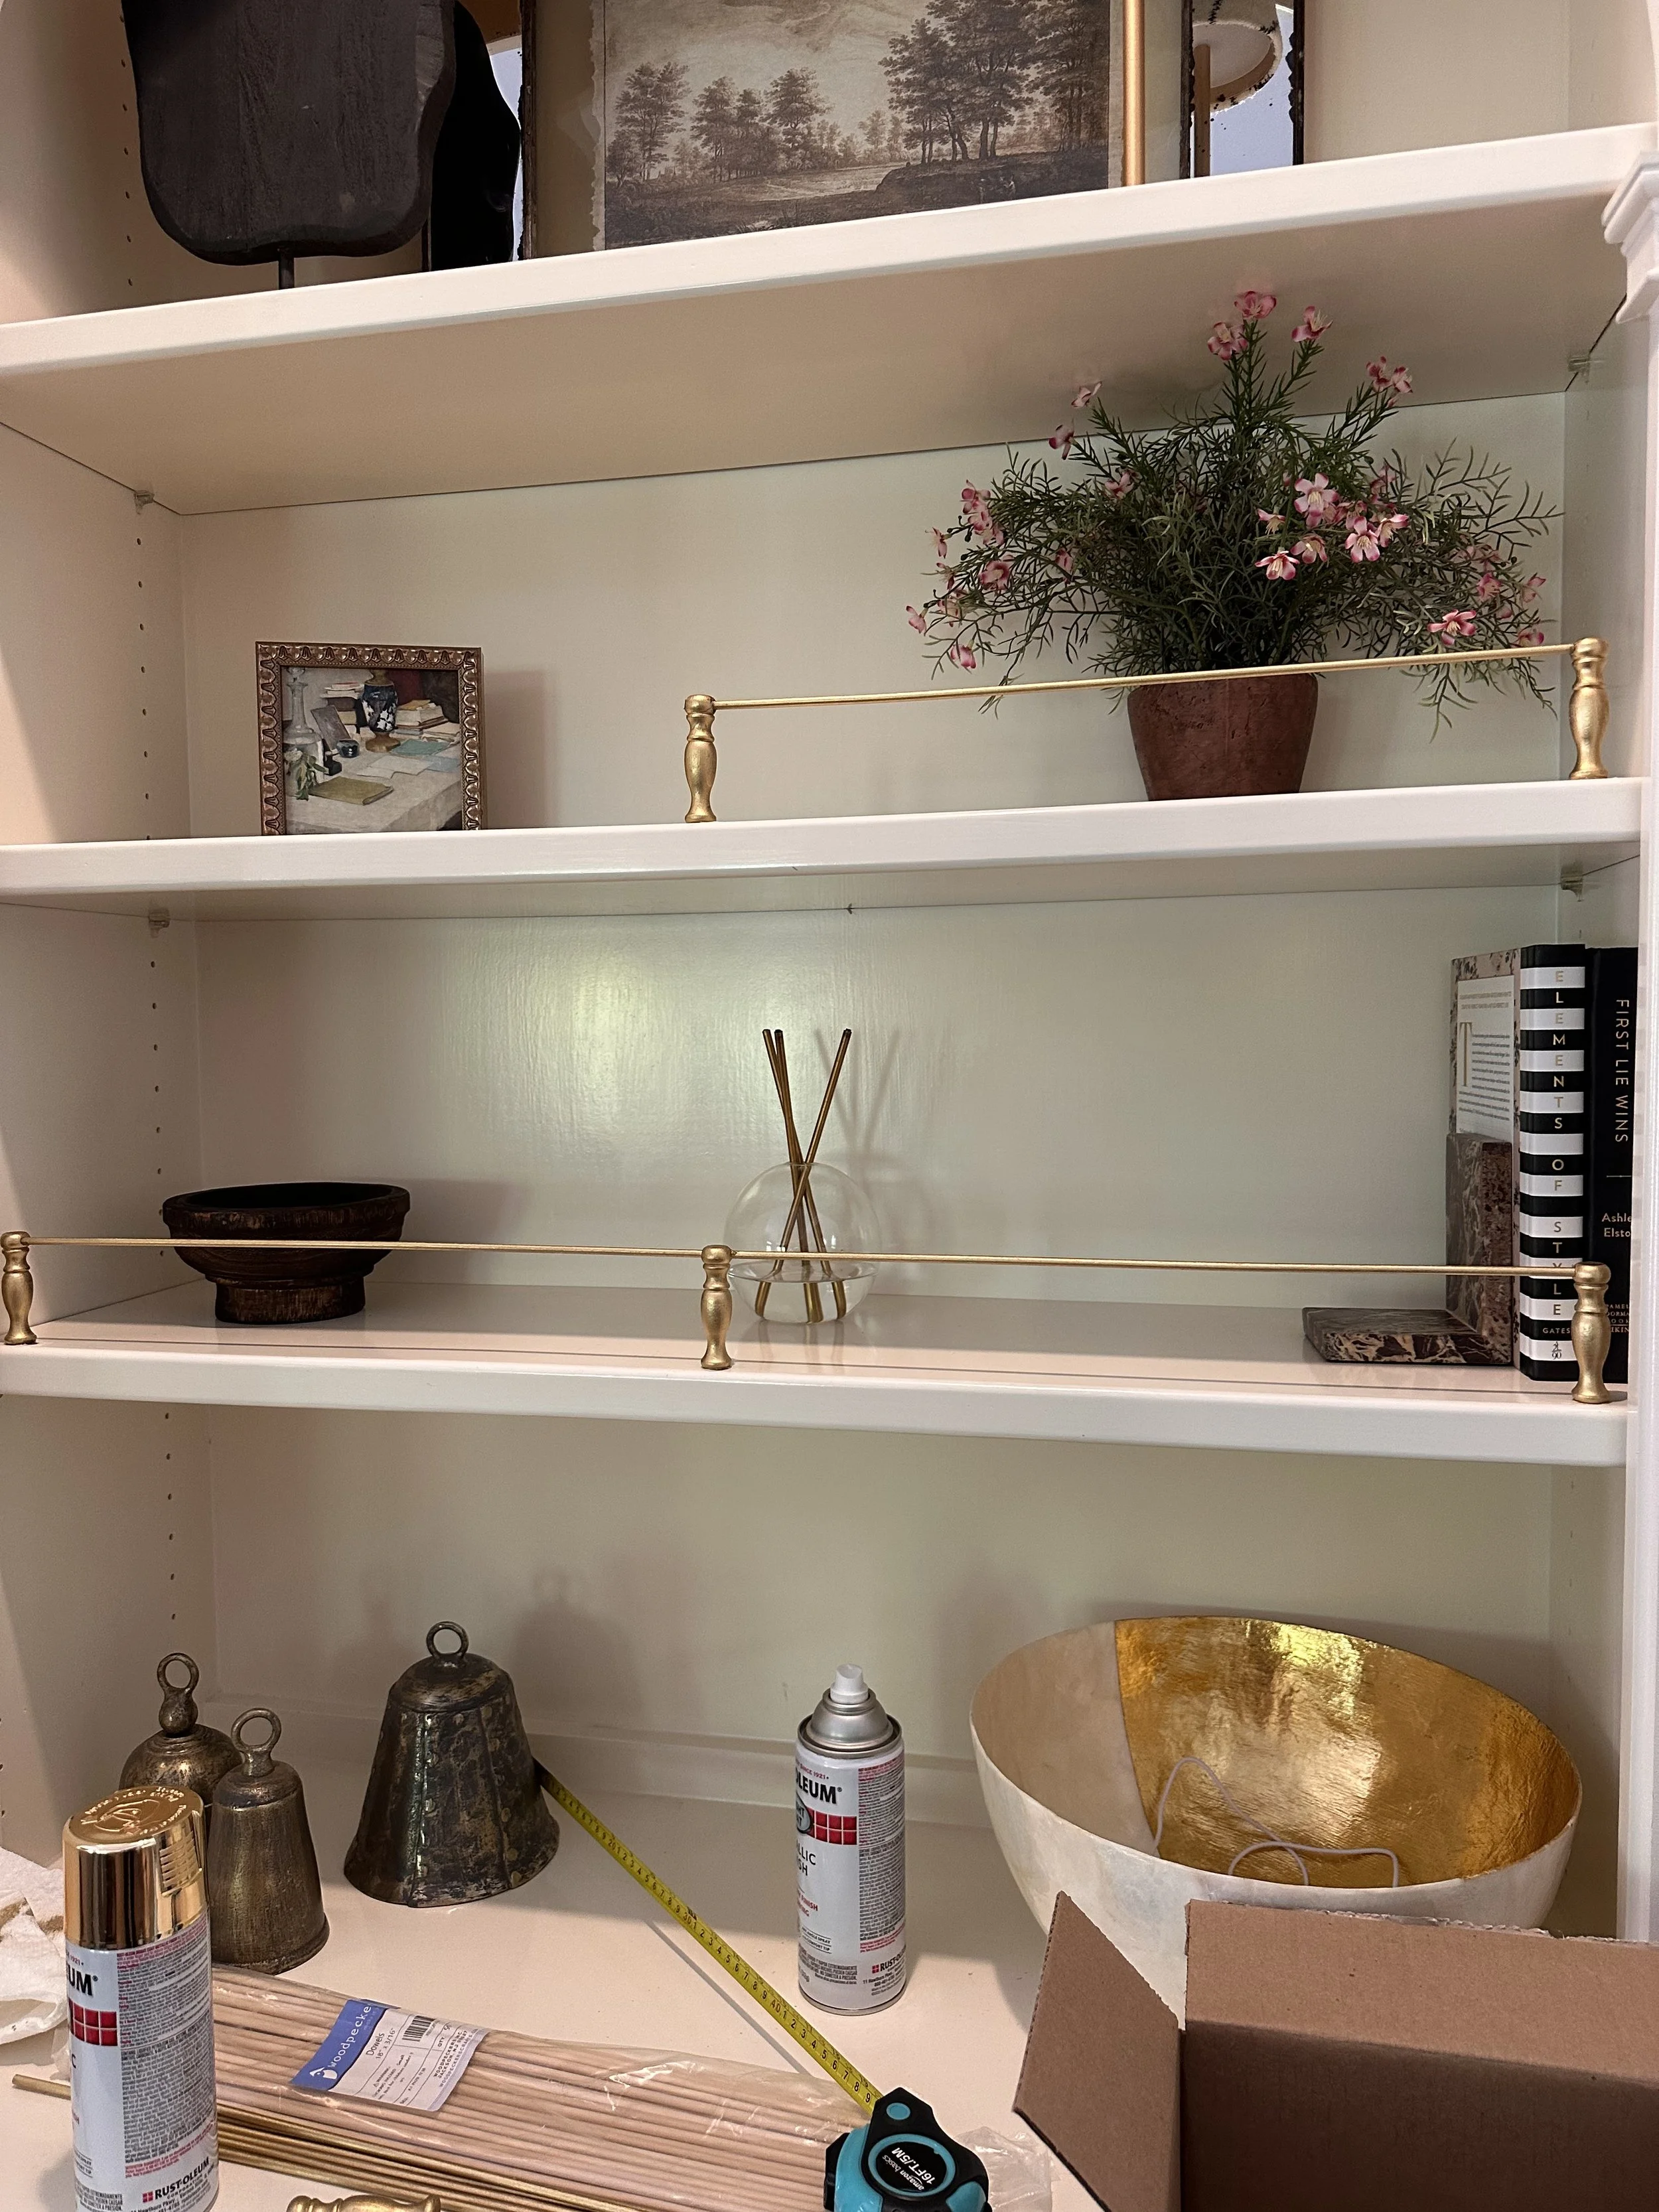
Here’s the halfway point where you can see the rails starting to come together:
The After
And finally—the finished look!
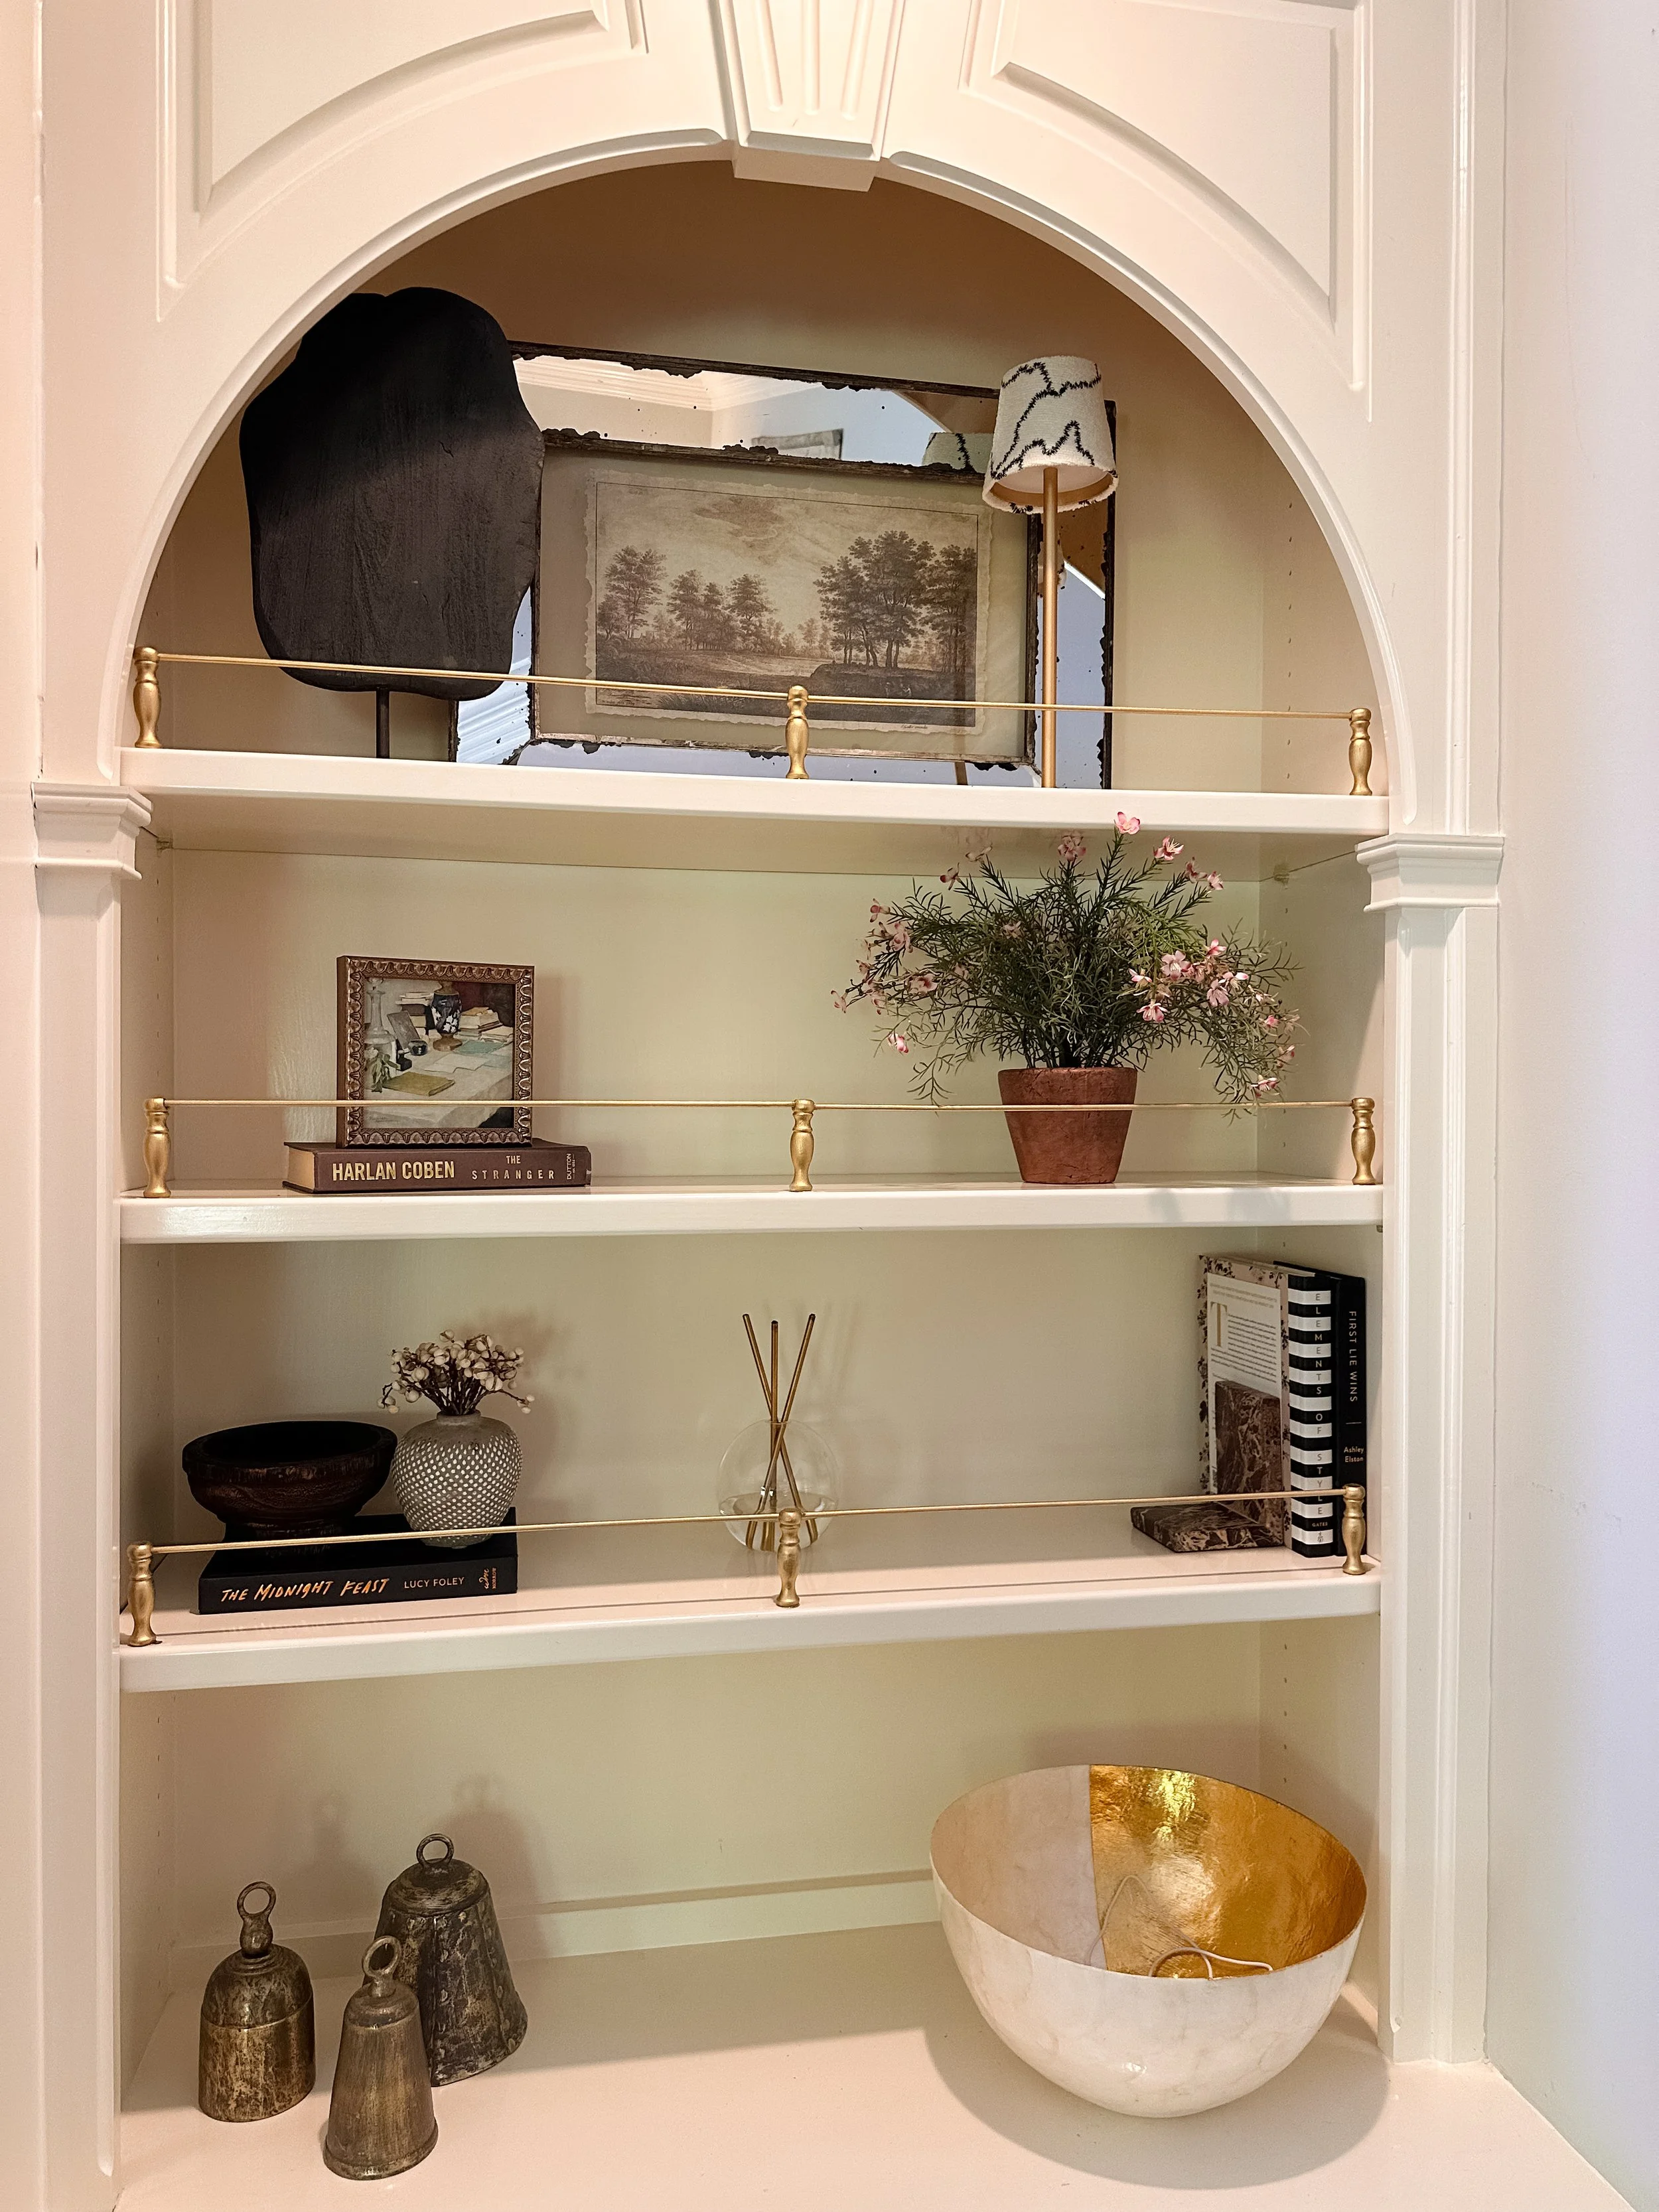
The gold gallery rails completely transformed the built-in, adding a layer of polish, charm, and custom character that you would never guess was a DIY project.